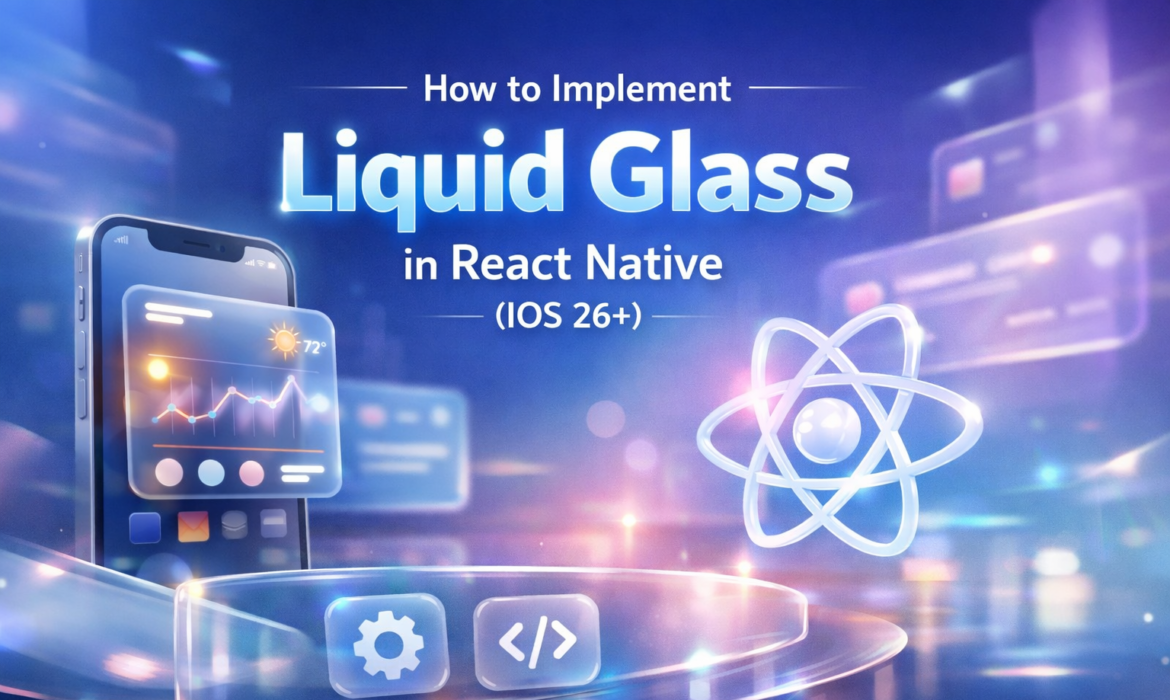
How to Implement Liquid Glass in React Native (iOS 26+)
Learn to Implement Liquid Glass in React Native (iOS 26+)
If you’ve been keeping an eye on mobile design trends, you know that Liquid Glass is the next big thing. Introduced with iOS 26, this effect is a beautiful evolution of the classic glassmorphism we’ve loved for years. This isn’t the old “blur + opacity” trick anymore. Liquid Glass behaves like a real material. It refracts what’s underneath it, catches light as you interact, and subtly adapts its tint based on motion and context. The result is a surface that feels alive rather than painted on.
Ready to give your React Native app that premium, futuristic vibe? Let’s dive into how you can implement this effortlessly.
What Exactly is Liquid Glass?
To implement it well, we first have to understand what it is. Liquid Glass isn’t just a standard blur. While older “glassmorphism” was defined by semi-transparent layers and soft shadows, Liquid Glass is responsive and dynamic.
Think of it as a “lensing” effect. It uses GPU-accelerated shaders to warp the content behind it based on the edges of the view. When you move your phone, the specular highlights (the “glint”) follow the gyroscope, making the screen feel like a physical piece of material. Its primary goal is to highlight underlying content without obscuring it, maintaining a clear separation between the foreground interface and the background content
This makes it perfect for important UI surfaces like navigation bars, headers, floating cards, and bottom tabs. It draws attention without shouting, and it adds depth without cluttering the layout.
The Golden Rules: Design Best Practices
Before we touch the code, a word of advice from Apple’s Human Interface Guidelines: use Liquid Glass sparingly. Because it is so visually powerful, overusing it can actually distract users from your content.
- Reserve it for functional elements: Use it for navigation bars, headers, floating cards, or action buttons.
- Don’t go full-screen: Avoid making entire screen backgrounds transparent; it works best for floating panels.
- Prioritize Readability: Ensure your text has enough contrast against the dynamic background. You can use a
tintColoroverlay to maintain brand consistency and visibility.
Getting started in React Native
On iOS 26+, implementing Liquid Glass in React Native is surprisingly straightforward. The exact approach depends on whether you’re using the New Architecture directly or working within Expo.
Step 1: Setting Up the Libraries
By 2026, the React Native ecosystem has matured to support these native primitives out of the box. You have two primary paths:
Option A: The Callstack Library (Recommended)
For apps using the New Architecture,
@callstack/liquid-glass is the go-to solution. It bridges Apple’s native Liquid Glass APIs directly into React Native using Fabric and TurboModules, so you’re getting the real thing, not a visual approximation.Installation:
npm install @callstack/liquid-glassOption B: The Expo Way
If you’re building with Expo (SDK 54+), you can achieve the same native feel using theexpo-glass-effect package. It closely mirrors SwiftUI’s glass modifiers, so the behavior feels consistent with the rest of the system UI.Installation:
npx expo install expo-glass-effectStep 2: Implementing Your First Glass Component
Let’s look at how to build a simple, interactive glass card using the Callstack library. This component will automatically render the true liquid material on iOS 26+ and fall back to a standard blur on older versions.
import { LiquidGlassView, isLiquidGlassSupported } from '@callstack/liquid-glass';
import { Text, StyleSheet } from 'react-native';

const GlassCard = () => (
  <LiquidGlassView
    effect="regular" // 'regular' for frosted, 'clear' for high transparency
    interactive={true} // Enables the "glint" effect on touch
    style={[
      styles.card,
      !isLiquidGlassSupported() && { backgroundColor: 'rgba(255, 255, 255, 0.5)' }
    ]}
  >
    <Text style={styles.text}>Futuristic UI</Text>
  </LiquidGlassView>
);

const styles = StyleSheet.create({
  card: {
    padding: 20,
    borderRadius: 24,
    width: 300,
    height: 150,
    justifyContent: 'center',
  },
  text: {
    fontSize: 18,
    fontWeight: '600',
    color: '#000',
  }
});
Note: In Expo, you would use <GlassView intensity=”high” tint=”system” /> for a similar effect.
Step 3: The “Merging” Effect
One of the most unique features of Liquid Glass is how separate elements can visually morph into a single shape when they overlap. This creates a “viscous” feel that is incredibly satisfying to watch.
To achieve this, wrap your elements in a
LiquidGlassContainerView (or GlassContainer in Expo).import { LiquidGlassContainerView, LiquidGlassView } from '@callstack/liquid-glass';
const MergedInterface = () => (
<LiquidGlassContainerView spacing={20} style={styles.container}>
<LiquidGlassView style={styles.circleLarge} />
<LiquidGlassView style={styles.circleSmall} />
</LiquidGlassContainerView>
);
The
spacing prop controls the distance at which the glass elements begin to affect each other and merge their refraction fields.Performance: Keeping it Buttery Smooth
Real-time refraction is GPU-intensive. To maintain a stable 60 FPS, follow these optimization strategies:
- Limit Layers: Avoid stacking more than 3 layers of Liquid Glass per screen. Each layer compounds the GPU workload.
- Hardware Acceleration: On Android fallbacks, use the
renderToHardwareTextureAndroid={true}prop to offload rendering to the GPU. - Cache Textures: Avoid recomputing blurs during every render; pre-render blurred backgrounds where possible.
- Known Issues: Avoid using
opacityvalues less than 1 on the glass view itself, as this can cause rendering glitches.
Cross-Platform: Don’t Forget Android & Legacy iOS
Liquid Glass is an iOS 26+ native feature, so we need a solid strategy for everyone else.
For Android
Android lacks a native “Liquid” API, but you can “fake it” with high fidelity.
- React Native Skia: This is the gold standard for Android. You can write custom RuntimeShaders to mimic the “liquid” glint and refraction.
- Expo Blur: If you need something simpler, use
expo-blurwithexperimentalBlurMethod="blur"for a smooth frosted look.
For Legacy iOS (13-25)
The best approach here is Vibrancy. While it won’t have real-time refraction, a
VibrancyView pulls colors from the background into your foreground text, mimicking the “adaptive tinting” of the newer APIAccessibility: Designing with Empathy
Always respect the user’s system settings. If a user has “Reduce Transparency” enabled in their accessibility settings, your app should automatically fall back to a solid or semi-transparent background.
You can check this status using:
import { AccessibilityInfo } from 'react-native';
const prefersReducedTransparency = await AccessibilityInfo.isReduceTransparencyEnabled();
Most modern libraries like
@callstack/liquid-glass handle this gracefully by default, but it’s always good to verify your fallbacks look great.
Building modern mobile apps is more than just code
Implementing Liquid Glass is more than just a visual trend; it’s about embracing a new “physics of the interface”. By moving away from static designs and toward these “living” materials, you’re signaling to your users that your app is built for the modern era.
Design trends like Liquid Glass are exciting, but pulling them off well takes more than copying snippets. It requires a solid understanding of platform behavior, performance constraints, and how real users interact with your app.
At TechNurture IT Solutions, we build high-quality mobile applications using React Native and modern UI patterns that feel fast, native, and future-ready. From clean architecture and performance optimization to polished UI and smooth animations, we focus on building apps that not only look premium but scale confidently as your product grows.
If you’re planning a new mobile app or want to modernize an existing one with iOS 26 features like Liquid Glass, we’d love to help.
👉 Explore our Mobile App Development Services
Have an idea in mind or a project you’d like to discuss?
Book a free consultation with our team to discuss your app, timelines, and the best technical approach; no pressure, just clarity.